If you love birds and want to attract more of them to your backyard, why not try building your bird feeder using recycled materials? It’s not only eco-friendly, but it’s also a fun way to repurpose an old pallet and a dead tree branch into something practical. Plus, this design is strong enough to hold even larger birds like cockatoos and galahs, which makes it perfect for all kinds of feathered friends! In this post, I’ll guide you step-by-step on how to make a sturdy and rustic bird feeder using an old wooden pallet and a natural tree post. I’ve even included a YouTube video showing the whole process in action, so you can follow along visually.
Why Build a DIY Bird Feeder?
There are so many reasons why creating your bird feeder is a great idea:
Eco-friendly: By upcycling an old pallet, you’re helping reduce waste and giving the wood a second life.
Cost-effective: Forget spending a ton of money on store-bought feeders. You can make one for much less!
Customisable: You can adjust the design, size, and finish to fit your backyard perfectly.
Attract local birds: It’s a great way to provide a feeding station for local bird species like lorikeets, cockatoos, and galahs.
What You’ll Need
One old wooden pallet
A dead tree branch (strong enough to support the feeder)
Concrete stepping stone for the base (you can buy one or make your own!)
Saw / Circular Saw
Drill and screws
Measuring tape/ruler
Sandpaper/sander
Wood stain or paint (optional, but recommended)
Birdseed
Step-by-Step Instructions
Step 1: Dismantle the Pallet
The first step is breaking down the pallet into individual planks. I used a circular saw to cut the planks because I had trouble removing them from the frame, but a regular saw works just as well. After that, remove any nails or staples and sand down the rough edges so the wood’s smooth and safe for the birds.
Step 2: Cut and Assemble the Base
Measure and cut four wooden planks to create a square or rectangular base for your feeder. The size will depend on how big you want it to be. You’ll also need two smaller pieces to connect the base planks. Then, cut the sides of the bird feeder to the same length and width as the base—these measurements will be based on your desired feeder size.
Cut and measure the base and sidesAttach smaller pieces to hold the base planks together
Step 3: Build the Sides and Roof Supports
With the remaining pallet wood, cut two vertical pieces to form the sides of the feeder. To make it more interesting, angle the tops to create a sloped edge for the roof. The pitch should match the roof you want to create, so it fits perfectly when attached. Secure these angled supports to the inside of the base with screws, ensuring they are even and aligned.
Step 4: Attach the Roof
For the roof, cut two pallet planks to the length of the feeder. Attach them at an angle to form the sloped roof. This design helps keep the birdseed dry when it rains. Use screws or nails to secure the roof to the support posts.
Slanted Roof
Step 5: Stain, Paint, and Finish
To protect the wood from the weather, consider staining or painting it. I used brown fence paint, but you can choose a color that matches your garden, or leave it natural for a rustic look. I used a spray gun, but you can easily apply the paint with a brush too!
Painting the Bird Feeder with brown fence paint from Bunnings
Step 6: Attach the Tree Branch Post
Next, find a sturdy dead tree branch to act as the post. We had a dead tree in our garden that we’ve been slowly taking branches from for projects like this. Secure the branch to a round concrete stepping stone to give it some stability. This base helps support larger birds like cockatoos!
Stepping stone
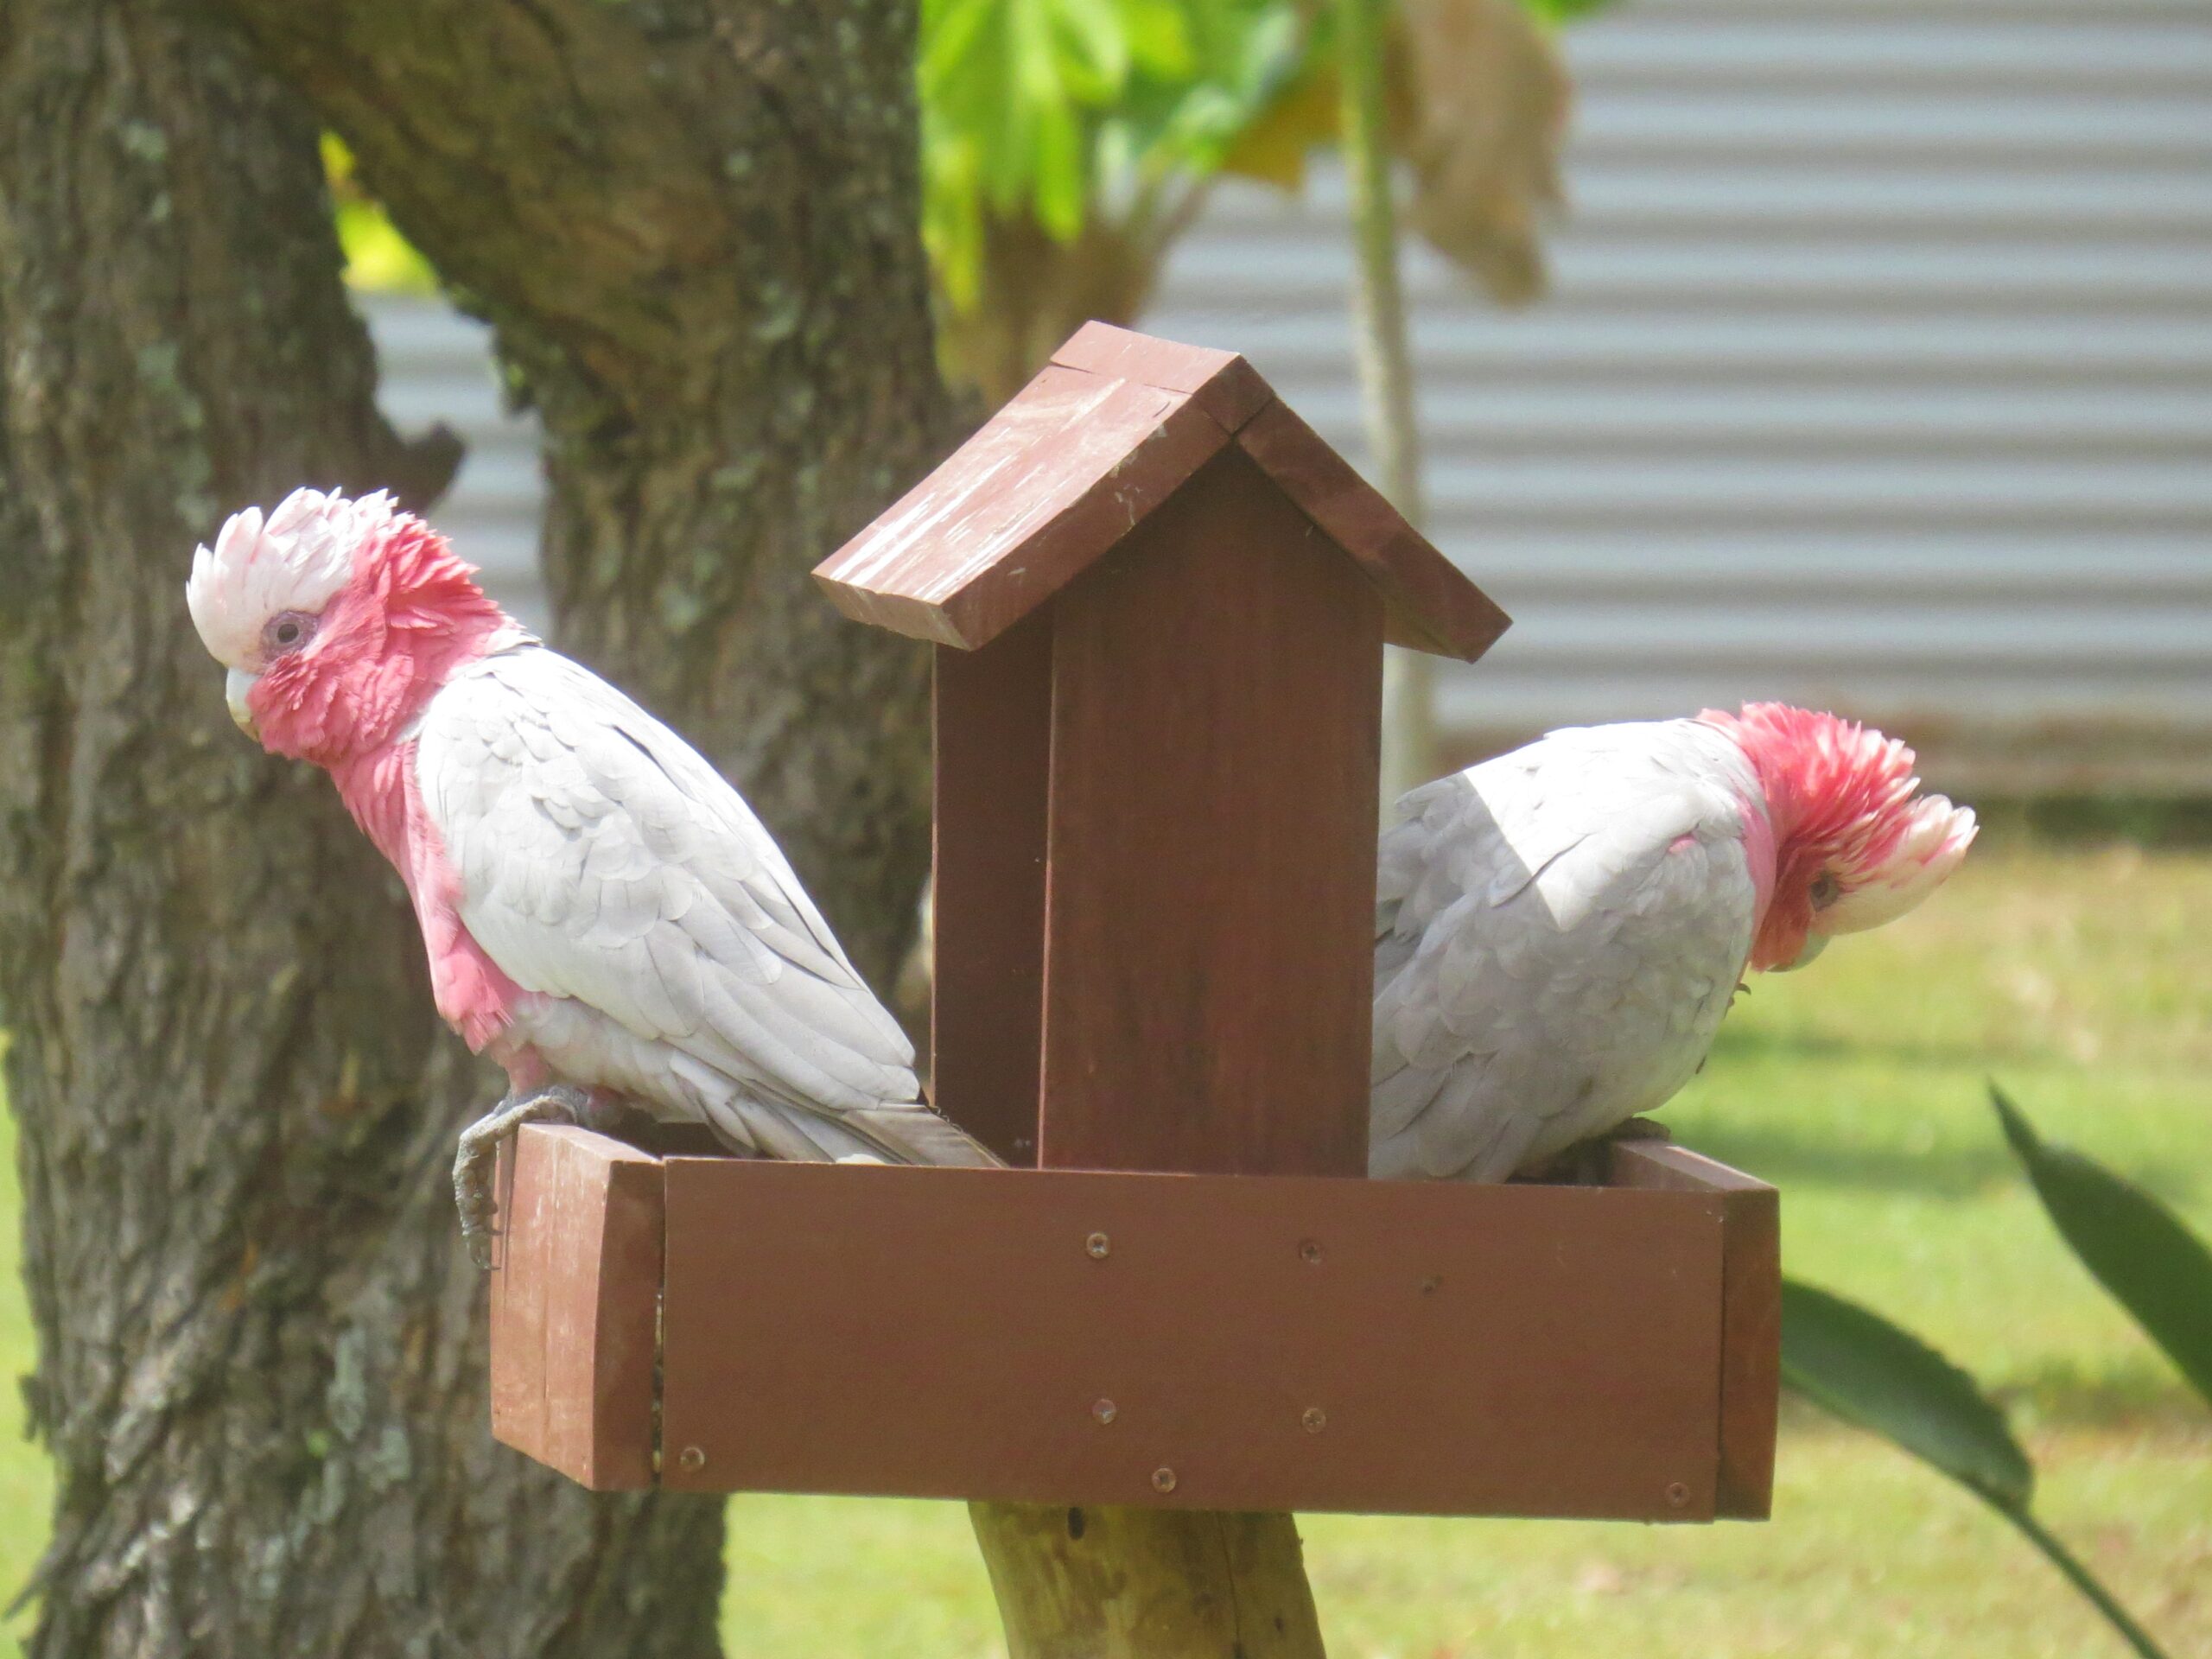
Step 7: Fill with Birdseed and Enjoy!
Once everything is in place, add some birdseed to the feeder and wait for your feathered friends to show up! Be sure to clean and refill the feeder regularly to keep it fresh and welcoming.
GalahPale Headed RosellaSulphur crested Cockatoo
Tips for Success
Place the feeder in a quiet spot where birds feel safe.
Avoid putting it too close to windows to prevent accidents.
Regularly clean the feeder to prevent mold or disease.
Mix different types of bird seed to attract a variety of species.
Be patient! It may take a few weeks for birds to find the feeder, so don’t get discouraged if they don’t visit right away.
Final Thoughts
Building a DIY bird feeder from an old pallet is not only a fun project but also a great way to benefit both you and your local birds. By recycling materials and using a natural tree branch, you’re creating an eco-friendly feeder that will last for years. There’s nothing quite as rewarding as watching birds enjoy something you made with your own hands.
So, give it a go! Let me know how your bird feeder turns out, and if you have any questions, feel free to leave a comment below. Happy birdwatching!