If you’re looking to boost your self-sufficiency game and turn your food scraps into rich, nutrient-packed compost, then this DIY project is just for you. Today, I’m going to show you how I turned a simple 75L garbage bin from Bunnings into a sustainable compost bin. It’s simple, budget-friendly, and so rewarding—for both your garden and the planet.
Why Composting is a Game-Changer
Reduces landfill waste: Did you know that nearly half of what Aussies send to landfill is organic waste? Composting helps divert this waste, reducing harmful methane emissions.
Creates nutrient-rich soil: Homemade compost is like a superfood for your garden. It helps improve the soil structure, locks in moisture and provides essential nutrients to your plants.
Promotes self-sufficiency: Making your compost means you’re not relying on commercial products that can be pricey and sometimes full of unknown additives.
Saves money: Composting cuts down on the need for expensive fertilisers and soil conditioners while making the most of what you already have at home.
How to Make Your DIY Compost Bin
Ready to turn your food scraps into garden gold? Here’s how I converted a 75L garbage bin into a simple, effective compost bin:
What You’ll Need:
- 1 x 75L garbage bin with a lid (I picked mine up from Bunnings—here’s the one I used: link to bin)
- A drill with a 10mm drill bit
- A small spade or garden fork (for turning the compost) OR you can grab a handy compost turning tool from Bunnings as I did: link to tool
- Food scraps and garden waste (to get started)
Step-by-Step Instructions:
1. Choose Your Bin
Look for a sturdy plastic bin with a tight-fitting lid to keep pests out. A 75L bin is the perfect size for most backyards or even a small balcony.
Start by picking a sturdy plastic bin with a lid to keep those pesky pests out. A 75L bin is the perfect size for most backyards or even a small balcony.
2. Drill the Holes
Grab your drill and make small holes around the sides and bottom of the bin. Space them evenly. These holes are super important because they let air flow through and help moisture drain, which creates the best conditions for composting.
3. Position Your Bin
Find a sunny spot for your bin on some soil or grass. This makes it easy for worms and microbes to get involved, plus it helps with drainage. If you’re putting it on a hard surface, like concrete, make sure to put a layer of soil or straw at the bottom to help with drainage.
4. Start Composting
Now comes the fun part! Start layering your compost materials. Alternate between “browns” (dry materials like leaves and cardboard) and “greens” (wet items like food scraps and grass clippings). This mix is key for healthy compost.
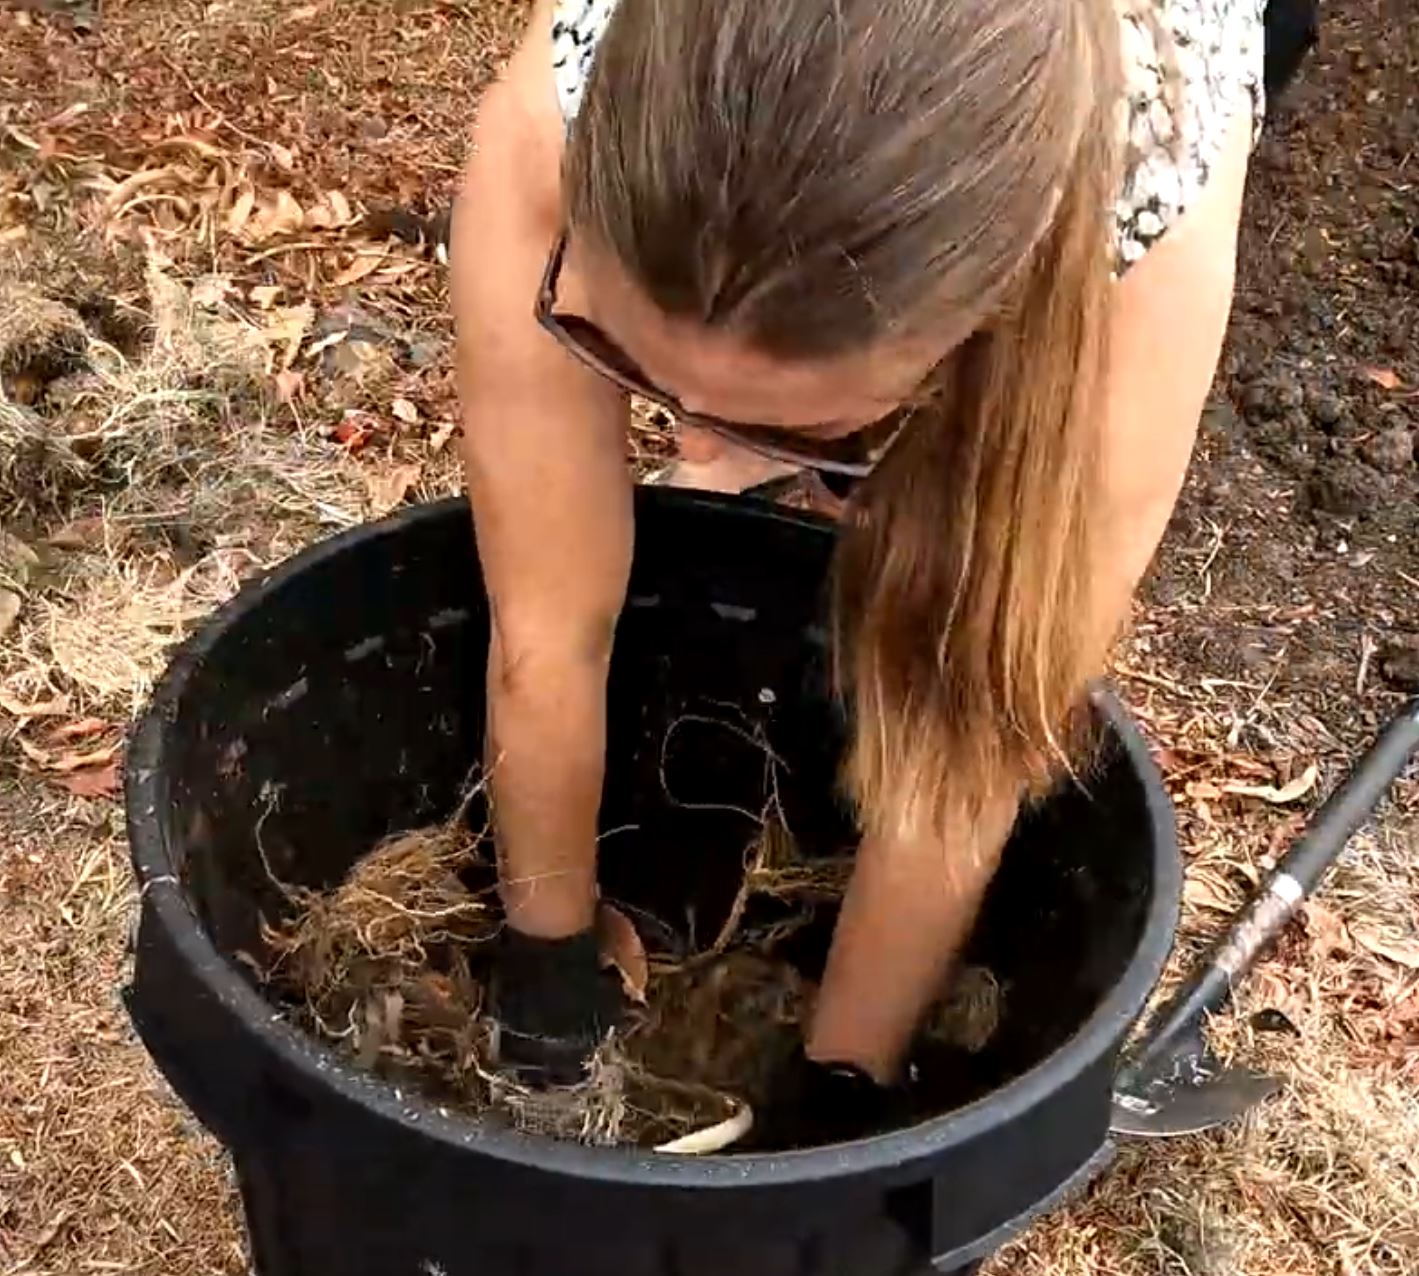
5. Mix It Up
Every couple of weeks, grab a garden fork (or your compost-turning tool) and give the pile a good stir. This helps the compost break down faster by keeping everything aerated.
6. Harvest Your Compost
Once it looks dark, crumbly, and smells earthy (not rotten!), your compost is ready to use! Depending on the conditions, this can take anywhere from 2 months to a year.
Once the contents look dark, crumbly, and smell earthy (not rotten), your compost is ready to use! This can take anywhere from 2 months to a year, depending on conditions.


What to Compost
- Fruit and veg scraps
- Coffee grounds and tea leaves
- Crushed eggshells
- Grass clippings
- Leaves, straw, and small branches
- Shredded newspaper and cardboard
Exclude:
- Meat, dairy, and oily foods (they attract pests)
- Diseased plants
- Weeds with seeds
- Large branches
- Plastic, glass, or anything synthetic
The Sustainable Side of Composting
Why Homegrown Compost is Better
Store-bought compost might be convenient, but it’s often packed with fillers, synthetic fertilisers, or even plastic bits. Homemade compost, on the other hand, is:
- Customised for your garden’s needs
- Fresh, full of active microbes
- Additive-free, pure, and natural
Interesting Composting Facts
- Temperature matters: Your compost can heat up to 65°C, which helps kill harmful pathogens and weed seeds.
- Worms are your friends: If worms show up, it’s a good sign! They break down organic matter even faster.
- It’s a cycle: The scraps from your kitchen become food for your soil, which grows the next batch of fresh veggies. Talk about self-sufficiency!