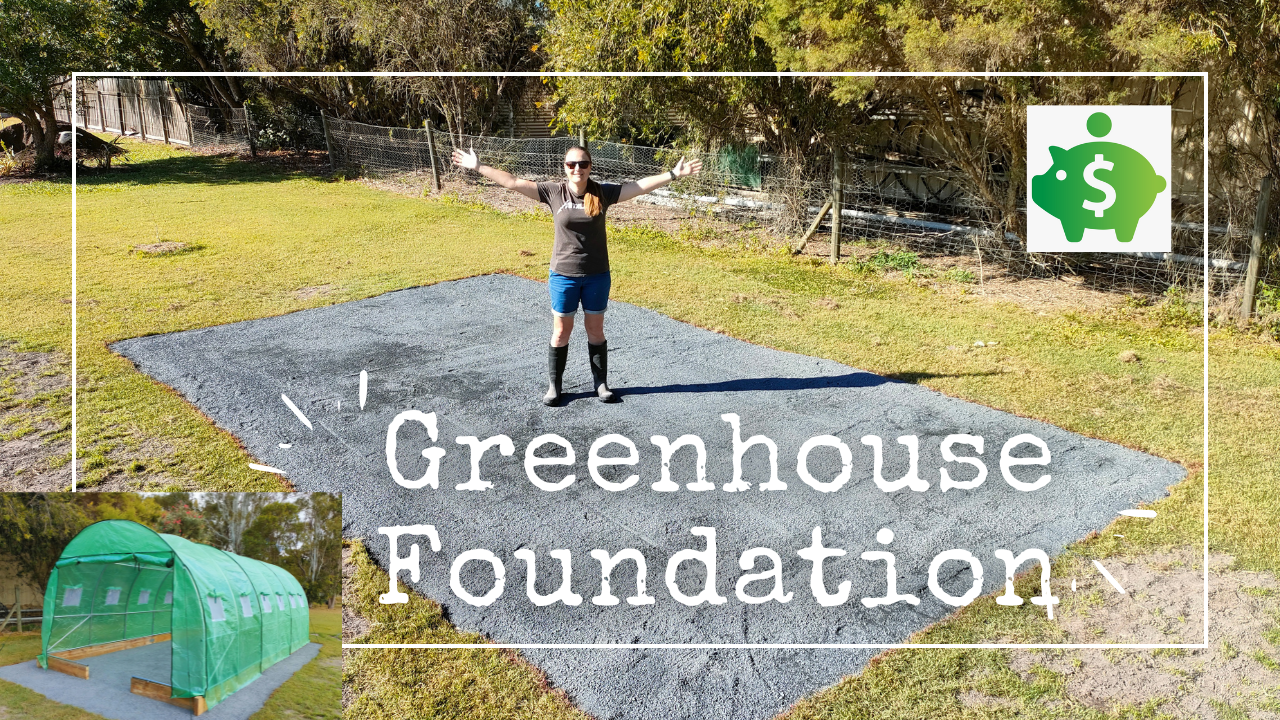
Building a greenhouse is an exciting project, but one of the first things you need to get right is the foundation. A strong base will stabilize your greenhouse and prevent it from shifting over time. While hiring pros or pouring concrete might seem like the easiest option, it can also be pretty expensive. So, we decided to take the DIY route and create an affordable foundation using crusher dust.
In this post, I’ll walk you through the process we followed—everything from the tools we used to the challenges we faced, as well as the pros and cons of doing it yourself. If you’re more of a visual learner, check out my YouTube video where I document the entire process!
Why Choose a DIY Greenhouse Foundation?
When it comes to greenhouse foundations, it doesn’t have to be complicated or expensive. You could go all out with concrete or treated timber, but if you’re after a more budget-friendly option, crusher dust works wonders.
Here’s why we chose it:
- Affordable: It was the cheapest option, apart from just leaving the ground as it was.
- Easy to Work With: No need for heavy equipment—just a shovel, rake, and a bit of elbow grease.
- Easy to Work With: No need for heavy equipment—just a shovel, rake, and a bit of elbow grease.
- Drains Well: Unlike concrete, crusher dust drains well, preventing water from pooling inside your greenhouse.
- Firm Yet Flexible: It gives you a solid base but still has some flexibility, which was helpful for us since our ground isn’t perfectly level.
Step-by-Step Guide to Building a Crusher Dust Greenhouse Foundation
1. Clearing the Grass
The first step was removing all the grass from the area. We used a plumber’s shovel to dig it out, which was hard work, but it did the job. Sure, a sod cutter would have made things a lot easier, but we were determined to keep costs down.
Tip: If you’re doing this manually, try slicing the grass in sections and rolling it up as you go. It helps keep things neat and makes removal much easier. Our grass came out in chunks, but that’s fine too!


2. Levelling the Ground
Once the grass was gone, it was time to level the ground. We used a rake and a long piece of timber to smooth out the surface as best as we could.
Without heavy machinery, it’s tough to get it perfectly level, but honestly, it didn’t need to be 100% precise for a greenhouse. If you have access to a plate compactor or even a heavy tamper, it’s worth using them to pack the soil down during this stage.
3. Spreading the Crusher Dust
Next up, we ordered a load of crusher dust and spread it evenly across the area. Crusher dust is great for this because it compacts well, giving you a solid base to work with.
We used a rake to spread it out, then lightly misted it with a hose to help it settle. After that, we tamped it down by walking over it and using a hand tamper. A plate compactor would have made this part easier, but we made do with manual labour.


Pros and Cons of a DIY Greenhouse Foundation
Pros:
- Saves money: You’ll save hundreds of dollars compared to hiring professionals or pouring concrete.
- Satisfying project: There’s something satisfying about building it yourself and seeing the results.
- Customisable: You can adjust the foundation to fit your greenhouse’s size and shape.
Cons:
- Hard work: Digging out grass, leveling the ground, and spreading crusher dust is a lot of hard labour.
- Takes time: This isn’t a weekend project. We spent several days working on it after our day jobs, and it took a bit longer than we anticipated.
- Not perfectly level: Without the right tools, the ground won’t be 100% level, which can lead to some unevenness.
Even with these cons, if you’re up for the challenge, this DIY project is worth it. It’ll save you money and give you a solid base for your greenhouse.
Final Thoughts
Building a DIY greenhouse foundation using crusher dust is a cost-effective and practical way to create a stable base for your greenhouse. While it does take time and effort, the satisfaction of completing the project yourself and the money you save makes it all worth it.
If you’re considering this method, I’d definitely recommend giving it a go. Just make sure you’re ready for some hard work and take your time to get the ground as level as possible.
Want to see the full process in action? Watch my YouTube video where I break down each step! And if you have any questions or tips of your own, drop a comment below. Happy building!