I’ll admit, I’m a bit of a lazy researcher—I love learning from YouTube. But is it really lazy when you’re soaking up knowledge from people who’ve already tried, failed, and perfected their craft? Hügelkultur was one of those techniques I came across, and it’s completely changed the way I garden.
What is Hügelkultur?
If you’re curious, hügelkultur is a German word that translates to “mound culture” or “hill culture.” It’s a sustainable gardening technique where you build raised garden beds using layers of organic materials that break down over time, naturally enriching the soil with nutrients.
How Does Hügelkultur Work?
The idea is pretty simple:
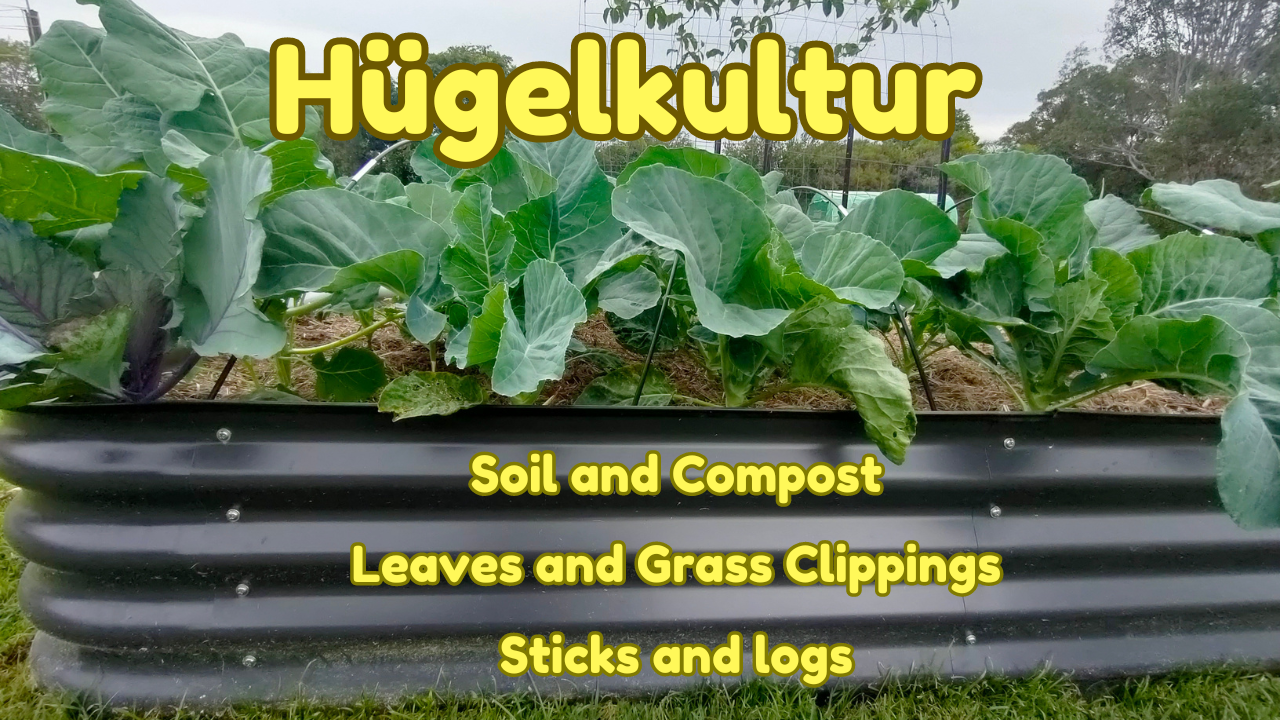
- Base Layer: Start with logs or tree stumps.
- Layer 1: Add smaller branches.
- Layer 2: Throw in garden waste like leaves and twigs.
- Layer 3: Add manure and compost.
- Top Layer: Finish with soil.
As these materials decompose, they create a nutrient-rich environment for your plants.
Why Hügelkultur?
If this sounds like a lot of work, let me give you some reasons why it’s worth it:
- Cost-effective: It uses garden waste, so you save on expensive soil and fertilizers.
- Waste reduction: It’s a fantastic way to repurpose yard waste sustainably.
- Extended growing season: The decomposing wood creates heat, which keeps the roots warm and extends the growing season.
- Improved soil health: Decomposition encourages beneficial critters and enriches the soil.
- Water retention: As the wood breaks down, it helps retain moisture, meaning less watering.
My Hügelkultur Experiment
When I first heard about hügelkultur, I was intrigued but a little sceptical. But as I dug deeper into its benefits, I couldn’t wait to try it, especially since filling raised beds can get expensive!
We don’t have many trees on our property, so I had to get creative with what I had. Here’s how I built my beds:
- Cardboard base: I started with a layer of cardboard (from old moving boxes) to prevent weeds and grass from growing through. It’s eco-friendly and decomposes over time.
- Branches and twigs: Added branches and twigs from recent garden maintenance.
- Grass clippings: I used dry grass clippings as a filler, and it worked surprisingly well.
- Leaves and compost: Then came a layer of leaves, followed by compost.
- Top soil: Finally, I topped it off with soil.


What I Planted
I’ve been thrilled with the results of my hügelkultur beds! They’ve produced a variety of crops, including:
- Capsicums
- Carrots
- Radishes
- Lettuce
- Tomatoes
- Sweetcorn
- Marigolds
I’ve also added eggplants, sweet potatoes, and even peanuts. While I still have room to improve, I’m excited by how well things are growing!
Lessons Learned and Future Plans
To all my fellow beginner gardeners, don’t be afraid to make mistakes—it’s part of the process. If you’ve had any gardening mishaps or have tips for fertilizers and compost, I’d love to hear them! Share your thoughts and advice in the comments below. Let’s learn and grow together.
Until next time, happy gardening!
Final Thoughts
If you’ve been thinking about giving hügelkultur a try, I hope this post gives you the push you need. Whether you go with the traditional method or adapt it to fit your needs, it’s a sustainable, cost-effective way to enrich your garden and reduce waste.
Have you tried hügelkultur? I’d love to hear about your experience! Share your tips, successes, or challenges in the comments below. Let’s learn and grow together.
Until next time—happy gardening!